
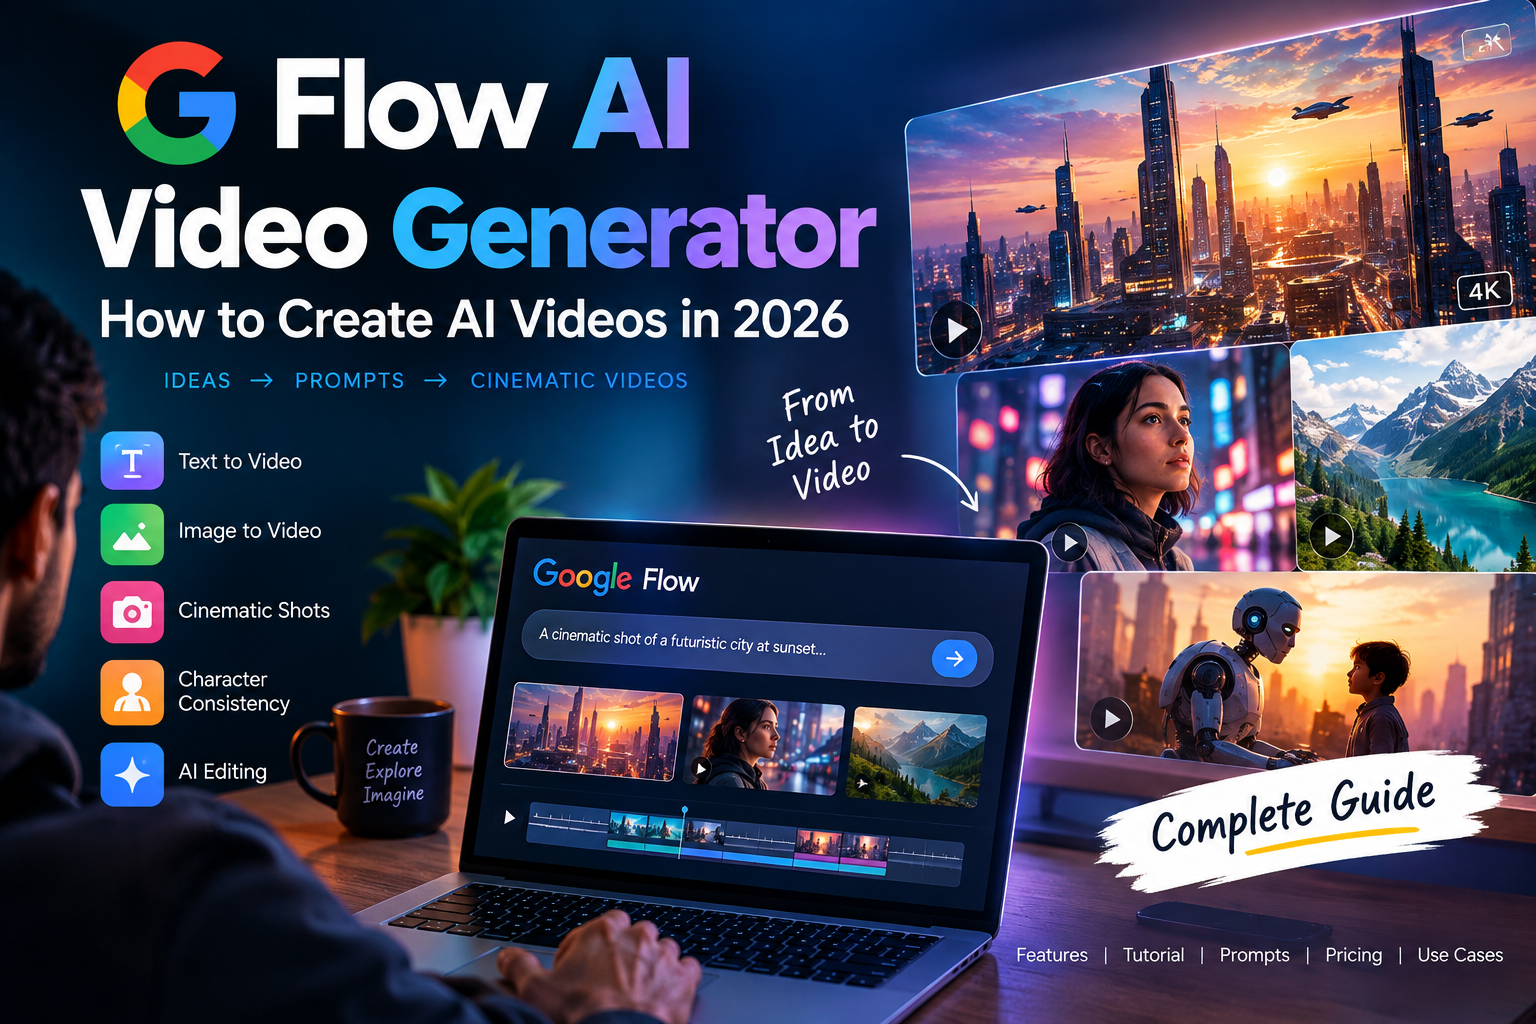
AI video generation has become much easier for creators who want to turn simple ideas into cinematic video scenes. Instead of using a camera, actors, locations, and complicated production equipment, creators can use AI to generate visual scenes from written instructions.
Google Flow AI is designed around this type of AI-powered filmmaking workflow.
But if you are using Flow AI for the first time, the interface, prompts, scenes, references, and generation process can seem confusing.
In this guide, we’ll explain how to use Flow AI step by step, how to write better prompts, how to create scenes, how to maintain visual consistency, and how beginners can start making AI videos.
What Is Flow AI?
Flow is Google’s AI filmmaking tool designed to help creators develop videos and cinematic scenes using generative AI.
It works with Google’s generative AI ecosystem and is designed for creative workflows involving AI-generated images, videos, characters, scenes, and storytelling.
Instead of starting with a camera, you can start with an idea.
For example, you could describe:
A futuristic city at sunset with flying cars, neon buildings, and people walking through a crowded street.
Flow can then help turn that concept into visual content.
For a broader explanation of the tool, see our guide on [Flow AI Video Generator].
How to Use Flow AI
The basic Flow AI workflow can be divided into several steps:
Idea → Prompt → Scene → Generate → Refine → Edit → Final Video
Let’s look at each step.
Step 1: Decide What Video You Want to Create
Before opening Flow AI, decide what you want to make.
Don’t immediately start generating random clips.
First create a basic concept.
For example:
Video idea
“A robot discovers the modern world for the first time.”
Now divide the story into scenes.
Scene 1
A robot wakes up inside a futuristic laboratory.
Scene 2
The robot walks outside for the first time.
Scene 3
It sees a busy city.
Scene 4
A child approaches the robot.
Scene 5
The robot and child look at the sunset.
This approach is much easier than trying to generate the entire story with one prompt.
Step 2: Open Flow AI
Sign in with the Google account that has access to Flow.
Depending on the current availability and plan, the interface and available generation options may vary.
Once you’re inside Flow, explore the available creation options before starting your first project.
The exact interface can change as Google updates the product, so don’t worry if your screen looks slightly different from tutorials published earlier.
Step 3: Start a New Project
Create a new project for your video.
Think of the project as the workspace where you can organize your scenes and generated content.
For example, if you’re making a short film called:
The Last Robot
You can keep all your related scenes inside one project.
This makes it easier to experiment with different versions.
Step 4: Write Your First Flow AI Prompt
This is one of the most important steps.
Your prompt tells the AI what you want to see.
A weak prompt might look like:
A robot in a city.
This doesn’t provide much visual direction.
Instead, try:
A realistic humanoid robot walking slowly through a futuristic downtown city at sunset, tall glass skyscrapers surrounding the street, flying vehicles in the distance, pedestrians looking at the robot, warm golden lighting, cinematic composition, slow tracking camera movement.
The second prompt provides much more information.
What Should You Include in a Flow AI Prompt?
A useful video prompt can contain several elements.
1. Subject
Who or what is in the scene?
Example:
A young woman wearing a futuristic jacket
2. Action
What is happening?
Walking slowly through a crowded street
3. Environment
Where is it happening?
A futuristic city at night
4. Camera
How should the camera capture it?
Slow tracking shot from behind
5. Lighting
What does the scene look like?
Neon blue and purple lighting
6. Mood
What should the audience feel?
Mysterious and cinematic
7. Visual style
What kind of footage should it resemble?
High-end science-fiction movie aesthetic
Flow AI Prompt Formula
You can use this simple formula:
Subject + Action + Environment + Camera + Lighting + Mood + Style
For example:
A young explorer walking through an ancient jungle temple, discovering glowing symbols on the walls, dense tropical vegetation surrounding the ruins, slow cinematic tracking shot, soft sunlight passing through the trees, mysterious adventurous mood, realistic cinematic film style.
This structure can help you create more detailed prompts.
Step 5: Generate Your First Scene
Once you’ve written your prompt, generate the scene.
Your first generation may not be perfect.
That’s completely normal with generative AI.
Look carefully at the output.
Ask yourself:
- Does the character look correct?
- Is the environment correct?
- Is the camera movement appropriate?
- Is the lighting right?
- Is the action happening correctly?
- Are there unwanted objects?
- Does the scene match the story?
If something is wrong, modify the prompt.
Step 6: Refine the Result
Don’t completely rewrite your prompt every time.
Instead, identify the problem.
Suppose your prompt generates a character who is standing still when you wanted the character to walk.
You could make the action more explicit:
The character walks slowly toward the camera while looking around the city.
Similarly, if the camera movement isn’t right:
Slow cinematic tracking shot following the character from behind.
Specific instructions generally give you more control than vague descriptions.
Step 7: Create Multiple Scenes
Once you’re happy with your first scene, move to the next one.
For example:
Scene 1
Robot inside laboratory.
Scene 2
Robot exits laboratory.
Scene 3
Robot enters city.
Scene 4
Robot meets child.
Scene 5
Robot watches sunset.
Each scene can be generated separately and later combined into the final video.
This scene-based approach is particularly useful for storytelling.
How to Maintain Character Consistency
Character consistency is one of the biggest challenges in AI-generated video.
Imagine your main character is a 30-year-old man with:
- Short black hair
- Brown eyes
- Black jacket
- Grey shirt
- Dark jeans
If you simply write “a man” in every prompt, the AI may produce a different person in every scene.
Instead, repeat the important character details.
For example:
A 30-year-old man with short black hair, brown eyes, wearing a black jacket, grey shirt and dark jeans…
Use the same core description across scenes.
When reference images or other consistency features are available, use them to help maintain the same visual identity.
How to Create Cinematic Videos With Flow AI
If you want your video to look more cinematic, pay attention to camera language.
Here are some useful terms.
Close-up
Useful for facial expressions and emotions.
Wide shot
Useful for showing environments.
Tracking shot
The camera follows the subject.
Dolly-in
The camera gradually moves toward the subject.
Low-angle shot
The camera looks upward, making the subject appear larger.
High-angle shot
The camera looks down toward the subject.
Over-the-shoulder shot
Useful for conversations and storytelling.
Drone shot
Useful for landscapes and establishing shots.
Best Flow AI Prompts for Beginners
1. Futuristic City
A cinematic wide shot of a futuristic city at sunset, enormous glass skyscrapers, flying vehicles moving between buildings, pedestrians walking through the streets, warm golden sunlight, atmospheric haze, realistic details, slow camera movement.
2. Product Advertisement
A premium smartphone standing vertically on a reflective black surface, dramatic studio lighting, subtle floating particles, slow rotating camera movement, luxury commercial aesthetic, highly detailed product presentation.
3. Fantasy Scene
A young warrior standing on a mountain overlooking an ancient fantasy kingdom, enormous castles in the distance, clouds moving across the valley, dramatic sunrise lighting, cinematic wide shot, epic fantasy atmosphere.
4. YouTube Short
A futuristic sports car racing through a neon city at night, wet streets reflecting colorful lights, dynamic tracking camera, dramatic motion, cinematic lighting, energetic social media video style.
5. Nature Video
A peaceful mountain lake surrounded by snow-covered peaks at sunrise, soft mist floating above the water, birds flying across the sky, slow aerial camera movement, realistic cinematic nature documentary style.
How to Create YouTube Shorts With Flow AI
Flow AI can be incorporated into a YouTube Shorts workflow.
A simple process is:
Idea → Script → AI Scenes → Voiceover → Editing → Music → Thumbnail → Upload
For example, suppose you’re creating a Short about:
“What Would Mumbai Look Like in 2050?”
You could create several scenes:
- Futuristic Mumbai skyline
- Autonomous vehicles
- AI-powered public transport
- Smart buildings
- Futuristic coastline
Then combine the clips with narration and music.
The important thing is to create an actual story or useful information rather than simply uploading unrelated AI-generated clips.
How to Use Flow AI for Faceless YouTube Videos
Faceless content creators can use AI-generated visuals as part of their production workflow.
For example, a technology channel could create:
Topic: “The Future of AI Robots”
The workflow could be:
Step 1
Write an original script.
Step 2
Generate narration.
Step 3
Break the script into visual scenes.
Step 4
Create AI video clips.
Step 5
Edit the clips together.
Step 6
Add narration, music and sound effects.
Step 7
Create the thumbnail.
Step 8
Publish the final video.
AI can reduce some production work, but the quality of the final video still depends heavily on the script, editing, storytelling, and originality.
Common Flow AI Mistakes to Avoid
Mistake 1: Using Very Short Prompts
A prompt such as:
Man walking.
doesn’t give enough information.
Add details about the environment, action, camera, and mood.
Mistake 2: Trying to Create Everything at Once
Don’t try to create a five-minute movie using one huge prompt.
Break your story into scenes.
Mistake 3: Changing Character Details
If your character suddenly has different clothes, hair, or facial features in every scene, the story may feel disconnected.
Keep important character information consistent.
Mistake 4: Ignoring Camera Movement
AI video isn’t only about the subject.
Camera instructions can dramatically change the feeling of a scene.
Mistake 5: Expecting the First Generation to Be Perfect
AI video generation is iterative.
Generate, review, adjust, and generate again.
Flow AI Prompt Template
You can save this template and reuse it:
[Subject] is [action] in [environment]. The camera uses a [camera movement/shot], with [lighting] and a [mood] atmosphere. The visual style is [style], with realistic details and natural movement.
Example
A young filmmaker is walking through a futuristic studio filled with holographic screens. The camera uses a slow tracking shot, with soft blue cinematic lighting and an inspiring atmosphere. The visual style is realistic high-end technology advertising, with natural movement and detailed environments.
How to Get Better Results From Flow AI
Here are some practical tips:
Be specific
Describe the subject and environment clearly.
Keep important details consistent
Use the same character description across scenes.
Describe camera movement
Don’t leave the camera completely undefined when cinematic movement matters.
Start small
Create short scenes before attempting longer projects.
Experiment
Generate multiple variations when necessary.
Edit afterward
AI generation is only one part of video production.
Adding narration, music, transitions, sound effects, captions, and color adjustments can improve the final result.
Is Flow AI Easy to Use?
For beginners, the basic concept is relatively simple:
Describe an idea → Generate a scene → Refine it → Build more scenes.
The challenging part isn’t necessarily clicking the buttons.
The real learning curve comes from understanding:
- Prompt writing
- Scene composition
- Camera language
- Character consistency
- Story structure
- Video editing
Once you understand these concepts, you can create much more controlled AI videos.
Flow AI Video Generator: How to Create AI Videos in 2026
Frequently Asked Questions
How do I use Flow AI?
Start by accessing Flow, create a project, describe your desired scene using a detailed prompt, generate the video, review the result, and refine the prompt until the scene matches your requirements.
Can beginners use Flow AI?
Yes. Beginners can start with short scenes and simple prompts before moving toward larger projects.
What should I write in a Flow AI prompt?
Include the subject, action, environment, camera movement, lighting, mood, and visual style.
Can Flow AI make YouTube videos?
AI-generated scenes can be incorporated into YouTube videos. You can combine them with scripts, narration, editing, music, captions, and other production elements.
How can I make cinematic videos with Flow AI?
Use detailed prompts and include cinematic camera directions such as wide shot, close-up, tracking shot, dolly-in, aerial shot, and slow camera movement.
How do I keep the same character in Flow AI?
Keep the character description consistent and use available reference or consistency features when appropriate.
Is Flow AI good for YouTube Shorts?
AI-generated scenes can be useful for Shorts, particularly for visual storytelling, concepts, futuristic scenes, product demonstrations, and other short-form content.
Final Thoughts
Learning how to use Flow AI is less about writing one perfect prompt and more about developing a repeatable creative workflow.
Start with a simple idea, divide it into scenes, write detailed prompts, generate short clips, review the results, and refine them.
Once you understand prompting and cinematic camera instructions, you can move from simple AI experiments toward more structured videos.
For beginners, the best way to learn is to start with a 10–20 second scene instead of trying to create an entire film immediately.
AI can handle much of the visual experimentation, but your story, creativity, editing, and originality are what can turn those individual AI-generated scenes into a useful video.